Oil Sticks, also known as Oil Bars, are transforming the way artists paint. They combine the rich, buttery saturation of traditional oil colors with the direct, spontaneous feel of a crayon. This unique hybrid makes them one of the most popular mixed media tools among contemporary artists today.
Whether you call them Oil Sticks or Oil Bars, these versatile oil painting supplies deliver intense pigment with effortless application. No brushes or palettes are required for quick expressive marks, yet they integrate seamlessly with classic oil techniques.
In this comprehensive Oil Sticks Buying and Usage Guide, you will learn how to select professional-grade sticks that match your creative needs and discover practical techniques to unlock their full potential. From beginner-friendly basics to advanced layering and textural effects, this guide helps you master Oil Sticks faster and with greater confidence.
At Phoenix Art Materials, we specialize in premium painting supplies designed for serious artists. Our Oil Sticks feature exceptionally high pigment concentration, stable wax-oil formulas, and excellent lightfastness, ensuring vibrant colors and reliable performance for years of professional use.
Ready to elevate your artwork?
Keep reading to find the best Oil Sticks for your style and start creating with confidence.
1: What Are Oil Sticks and Oil Bars?
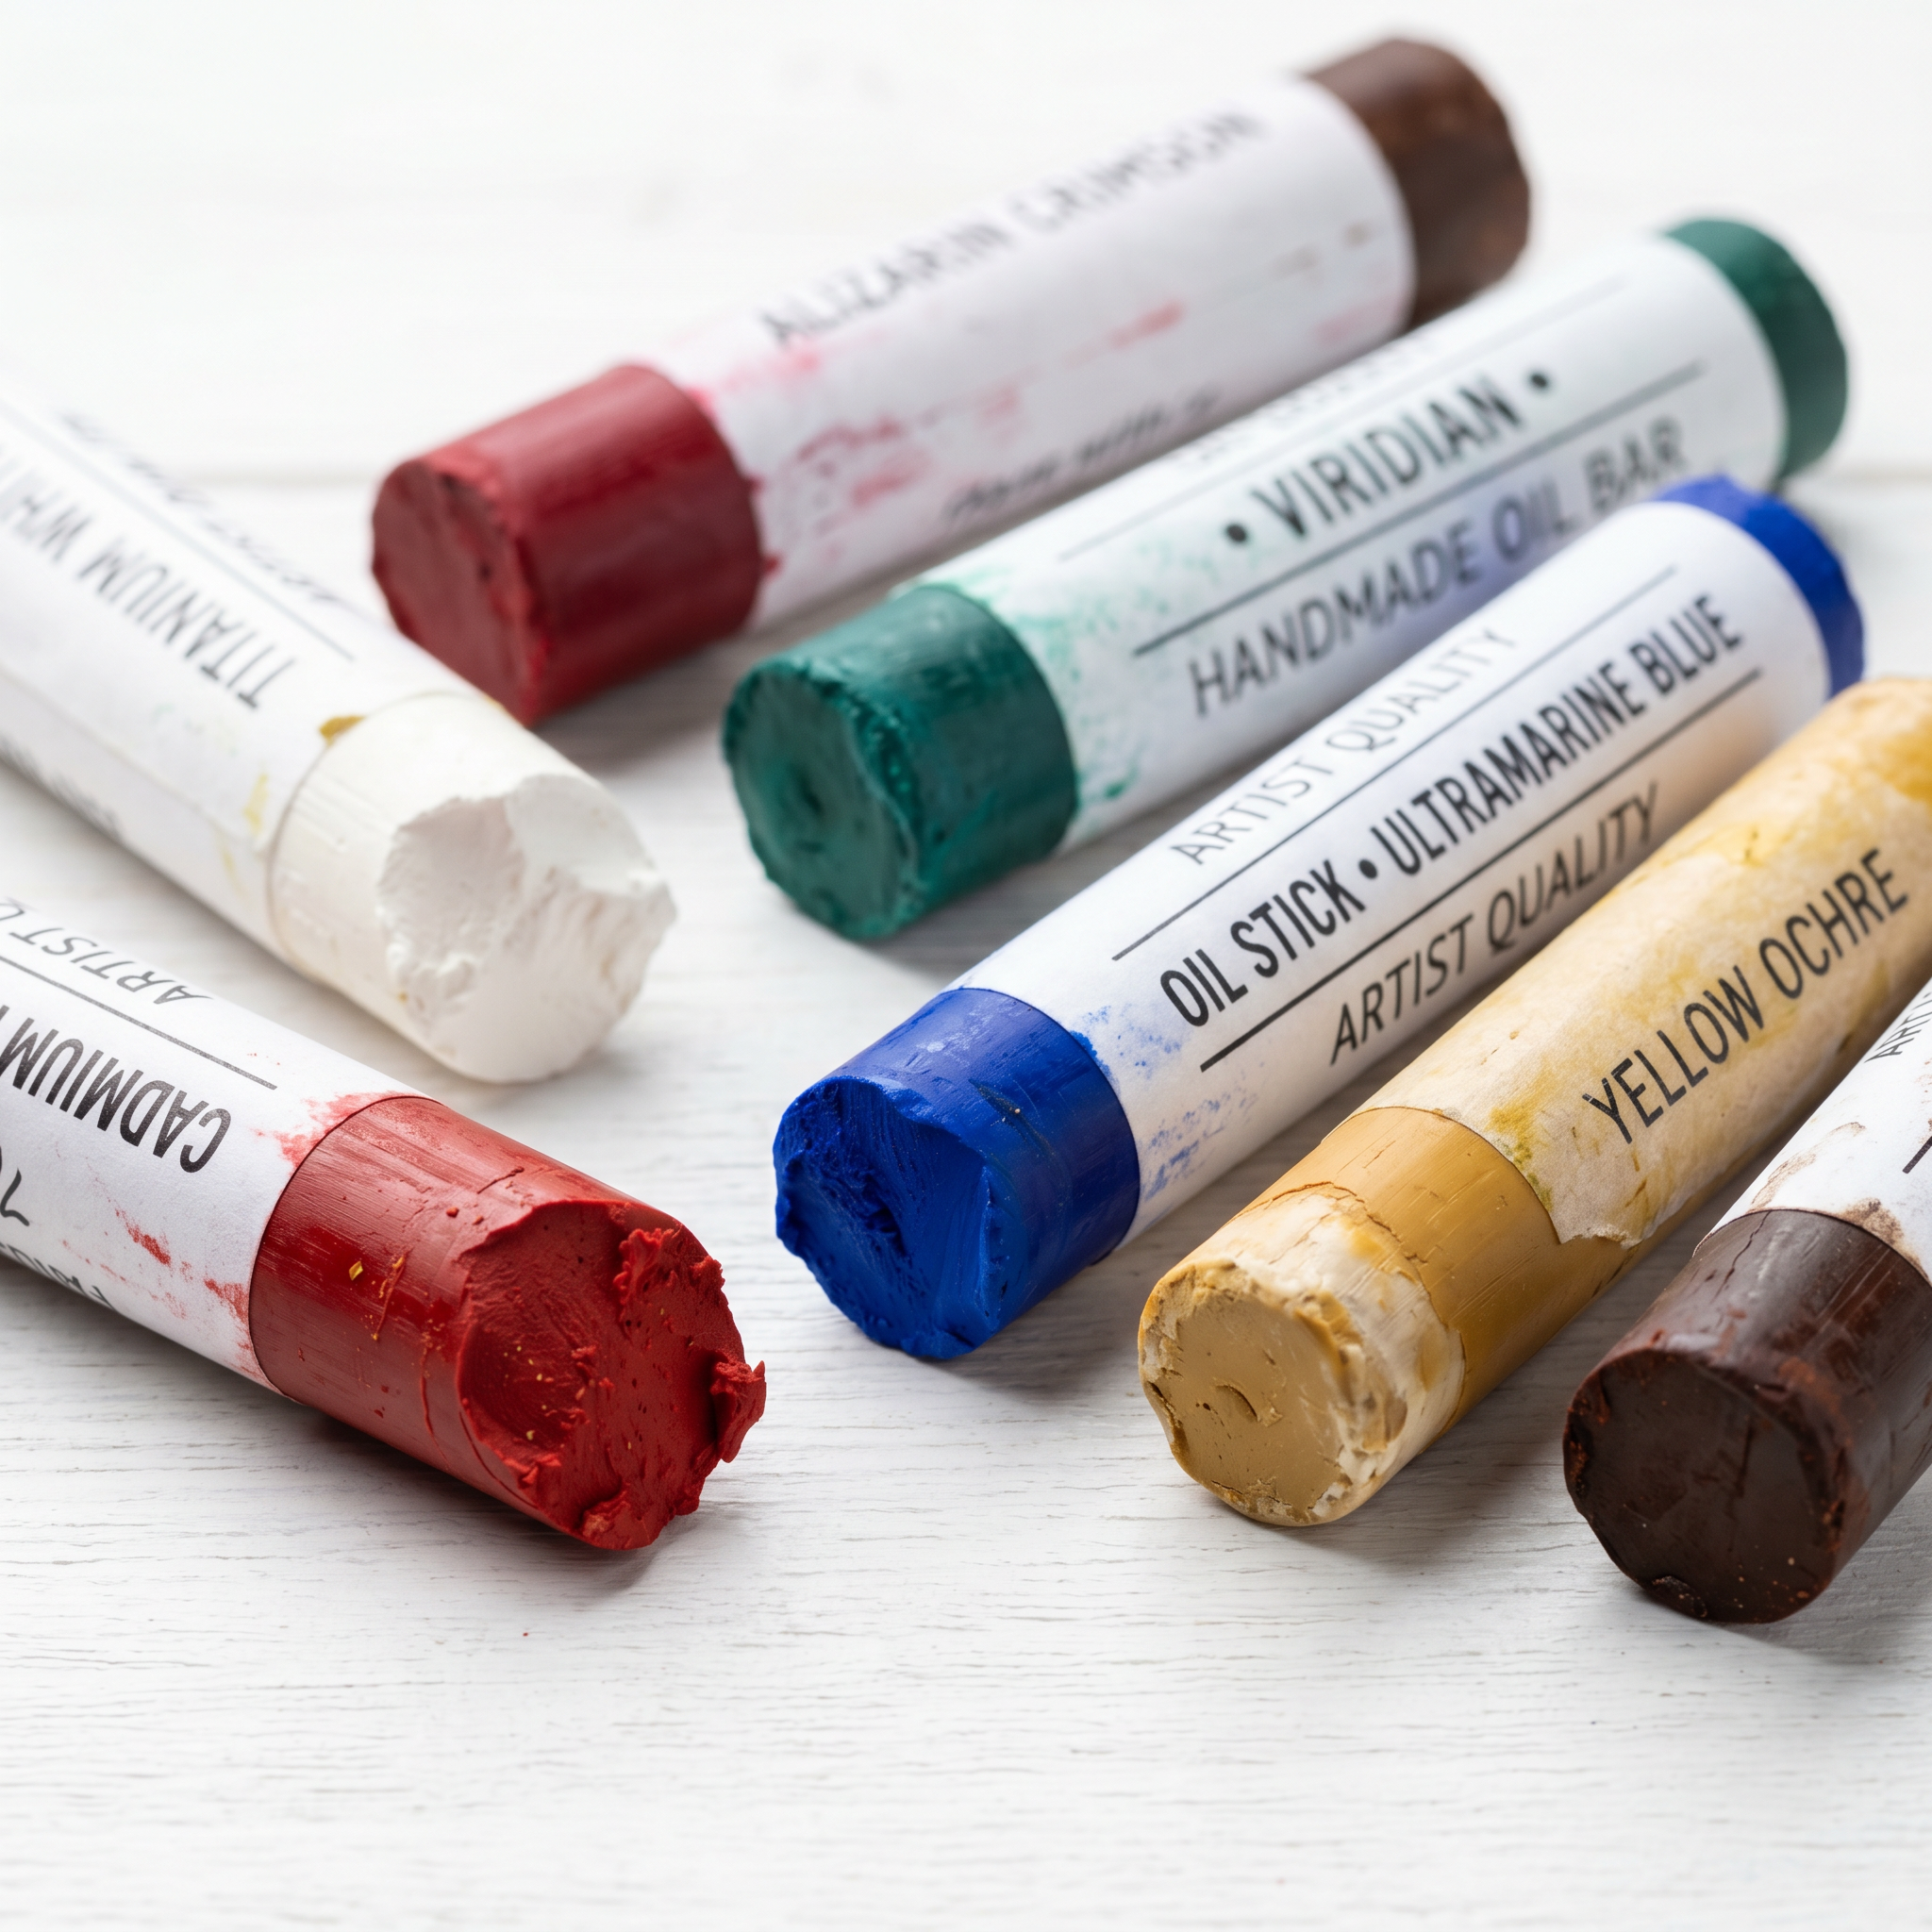
Oil Sticks, commonly called Oil Bars, are highly pigmented painting tools that feel like a cross between oil paint and a crayon. They consist of three main ingredients: concentrated artist-quality pigments, drying oils, and a special wax binder. This combination creates a rich, creamy consistency that allows direct application straight from the stick.
Oil Sticks vs Oil Bars: What’s the Difference?
The terms are often used interchangeably, but there is a small practical difference. Oil Sticks usually come with a protective paper or plastic wrapper that you peel as you use them. Oil Bars (sometimes called naked sticks) have no outer wrapper, offering a more direct and tactile experience.
Both deliver the same high pigment load and work identically on canvas.
How Oil Sticks Compare to Other Mediums
Oil Sticks sit between traditional tube oil paints and oil pastels. Here’s a quick comparison:
| Feature | Oil Sticks / Oil Bars | Traditional Oil Paint | Oil Pastels |
| Pigment Concentration | Very High | High | Medium |
| Application | Direct from stick | Needs brushes & palette | Direct, but softer |
| Drying Time | Slow (like oil) | Slow | Never fully dries |
| Blendability | Excellent with mediums | Excellent | Good, but greasy |
| Portability | Very High | Low | High |
Unlike oil pastels, quality Oil Sticks use drying oils that allow the paint film to cure over time, making them suitable for permanent fine art. Compared to tube oils, they offer greater speed and spontaneity without sacrificing color intensity or archival quality.
2: How to Choose the Right Oil Sticks – Buying Guide
Choosing the right Oil Sticks can make a big difference in your painting experience. With so many options available, knowing what to look for helps you get tools that perform well and last longer.
-
Pigment Concentration and Lightfastness
Always check the pigment load first. High-quality Oil Sticks contain a very high percentage of pure artist pigments. This delivers rich, intense color with excellent coverage.
Look for good lightfastness ratings (I or II) so your colors won’t fade over time. Professional-grade sticks maintain vibrant hues even after years of display.
-
Wax Formulation and Texture
The wax and oil blend determines how the stick feels and performs.
-
Soft formulas glide smoothly and blend easily but may be more fragile.
-
Firmer sticks offer better control and less breakage, ideal for detailed work.
Avoid sticks that feel overly dry or crumbly, as they can crack on the canvas or during storage.
-
Color Range and Set Options
Consider whether you need single colors or a full set.
Starter sets usually include 6–12 essential colors. Professional artists often prefer larger sets (24–48 colors) or buying individual sticks to expand their palette. Choose brands that offer both warm and cool tones plus useful earth colors.
-
Size Selection
Oil Sticks come in different sizes:
-
38ml – Perfect for beginners, travel, and testing new colors.
-
188ml (or larger) – Better value for artists who use certain colors heavily.
Larger sticks last longer and feel more comfortable for broad strokes and big canvases.
-
Brand and Value for Money
Professional-grade Oil Sticks cost more upfront but deliver better results and longevity. Student-grade options are cheaper but often have lower pigment and may contain more fillers.
Phoenix Art Materials Recommendation Our professional Oil Sticks use high-purity pigments and premium wax-oil formulas. They offer rich, buttery color, minimal cracking, and excellent shelf life. Artists love their stable consistency and archival quality for long-term projects.
Budget Tips
-
Beginners: Start with a 6–12 color starter set (around 38ml).
-
Intermediate artists: Invest in a 24-color set plus a few extra large sticks of your favorite tones.
-
Professional artists: Buy individual large sticks of key colors and build your collection gradually.
3: Preparing Your Workspace and Tools
Good preparation makes working with Oil Sticks much more enjoyable and helps you achieve better results. Setting up the right workspace and tools saves time and protects your artwork.
Essential Tools You’ll Need
Here are the must-have oil painting supplies for Oil Sticks:
-
Canvas or Painting Surface: Primed canvas works best.
-
Palette Knives: Great for mixing, applying, and creating texture.
-
Brushes: Synthetic or hog bristle brushes for blending and softening edges.
-
Oil Mediums: Linseed oil, stand oil, or specialized Oil Stick mediums to soften the sticks or create glazes.
-
Phoenix Oil Canvas: Our pre-primed canvases offer excellent tooth and adhesion for Oil Sticks.
Optional but useful: rags, baby wipes, and a small spray bottle with solvent for cleaning.
Surface Preparation and Compatibility
Oil Sticks work well on many surfaces, but preparation matters:
-
Canvas: Ready-to-use primed canvas is ideal. No extra gesso needed in most cases.
-
Wood Panel: Apply 2–3 layers of gesso for a smooth or textured finish.
-
Paper: Use heavy mixed-media or oil-specific paper (300gsm+). Priming is recommended for heavy application.
-
Other surfaces: Avoid unprimed wood or regular paper, as the oil can stain or damage them over time.
Always test a small area first, especially on new surfaces.
Safety and Cleaning Tips
-
Work in a well-ventilated area, especially when using oil mediums or solvents.
-
Wear gloves if you have sensitive skin — the wax and pigments can be hard to remove from hands.
-
Keep your workspace clean. Use separate rags for wiping sticks and tools.
-
Clean tools immediately after use with odorless mineral spirits or a natural solvent.
Pro Tip: Place a sheet of glass or acrylic palette under your work area for easy cleanup.
4: How to Use Oil Sticks and Bars – Step-by-Step Techniques
Oil Sticks are incredibly versatile. You can create everything from quick sketches to rich, textured paintings. Below is a clear step-by-step guide to help you master both basic and advanced techniques.
Basic Techniques
Direct Drawing Use the Oil Stick like a large crayon. Apply it straight onto the canvas for bold lines, quick marks, or expressive gestures. Great for initial sketches and strong contours.
Thick Application (Impasto) Press the stick firmly and build rich, buttery layers. This creates beautiful texture and strong color presence. Ideal for adding volume and dimension.
Thin Layers Lightly drag the stick across the surface or spread it thinly with a brush or knife. This produces softer, more transparent effects.
Scraping Use a palette knife, old credit card, or brush handle to scratch into wet layers. This reveals colors underneath and adds interesting surface details.
Advanced Techniques
Working with Oil Mediums Dip the stick into linseed oil, stand oil, or a dedicated Oil Stick medium to soften it. This makes blending easier and allows for smooth transitions or glazing effects. A little medium goes a long way.
Layering – Follow the Fat over Lean Rule Always apply lean (less oil) layers first, then fatter (more oil-rich) layers on top. This prevents cracking as the painting dries. Oil Sticks naturally contain oil and wax, so plan your layers carefully.
Mixed Media Approaches Combine Oil Sticks with traditional tube oil paints for added depth. You can also use them over dried acrylic underpaintings for a hybrid style. Test compatibility on a small area first.
Plein Air and Quick Sketching Oil Sticks are perfect for outdoor painting. Their portability and fast application make them excellent for capturing light and color on location. Carry a few colors, a small canvas, and minimal tools.
Which Styles Work Best?
-
Abstract & Expressive: Thick impasto, bold scraping, and energetic direct marks.
-
Realistic: Layering with mediums, fine blending, and controlled palette knife work.
-
Impressionist: Loose strokes, broken color, and quick plein air application.
5: Common Techniques and Creative Ideas
Once you master the basics, Oil Sticks open up endless creative possibilities. Here are some of the most popular and effective techniques used by artists today.
Blending & Smudging
Use your finger, a soft cloth, or a blending stump to gently push and mix colors directly on the surface.
This creates soft transitions and atmospheric effects. Adding a drop of oil medium makes blending even smoother and more controllable. Perfect for skin tones, skies, and dreamy backgrounds.
Palette Knife Application
Apply Oil Sticks thickly with a palette knife for expressive, textured strokes.
You can spread, mix, or sculpt the paint right on the canvas. This method produces bold, impasto effects with beautiful light-catching surfaces.
Sgraffito (Scraping Technique)
Scratch into wet or semi-dry layers using a knife, stylus, or even the end of a brush.
This reveals underlying colors and creates fine lines or patterns. It works especially well for adding details, textures like tree bark, or abstract graphic elements.
Textural Effects
Build interesting surfaces by combining techniques:
-
Layer thick marks over thin washes
-
Press fabric or paper into wet paint for patterns
-
Mix in cold wax medium for extra body and matte finish
These methods add depth and visual interest that photographs beautifully.
Real-World Examples from Phoenix Artists
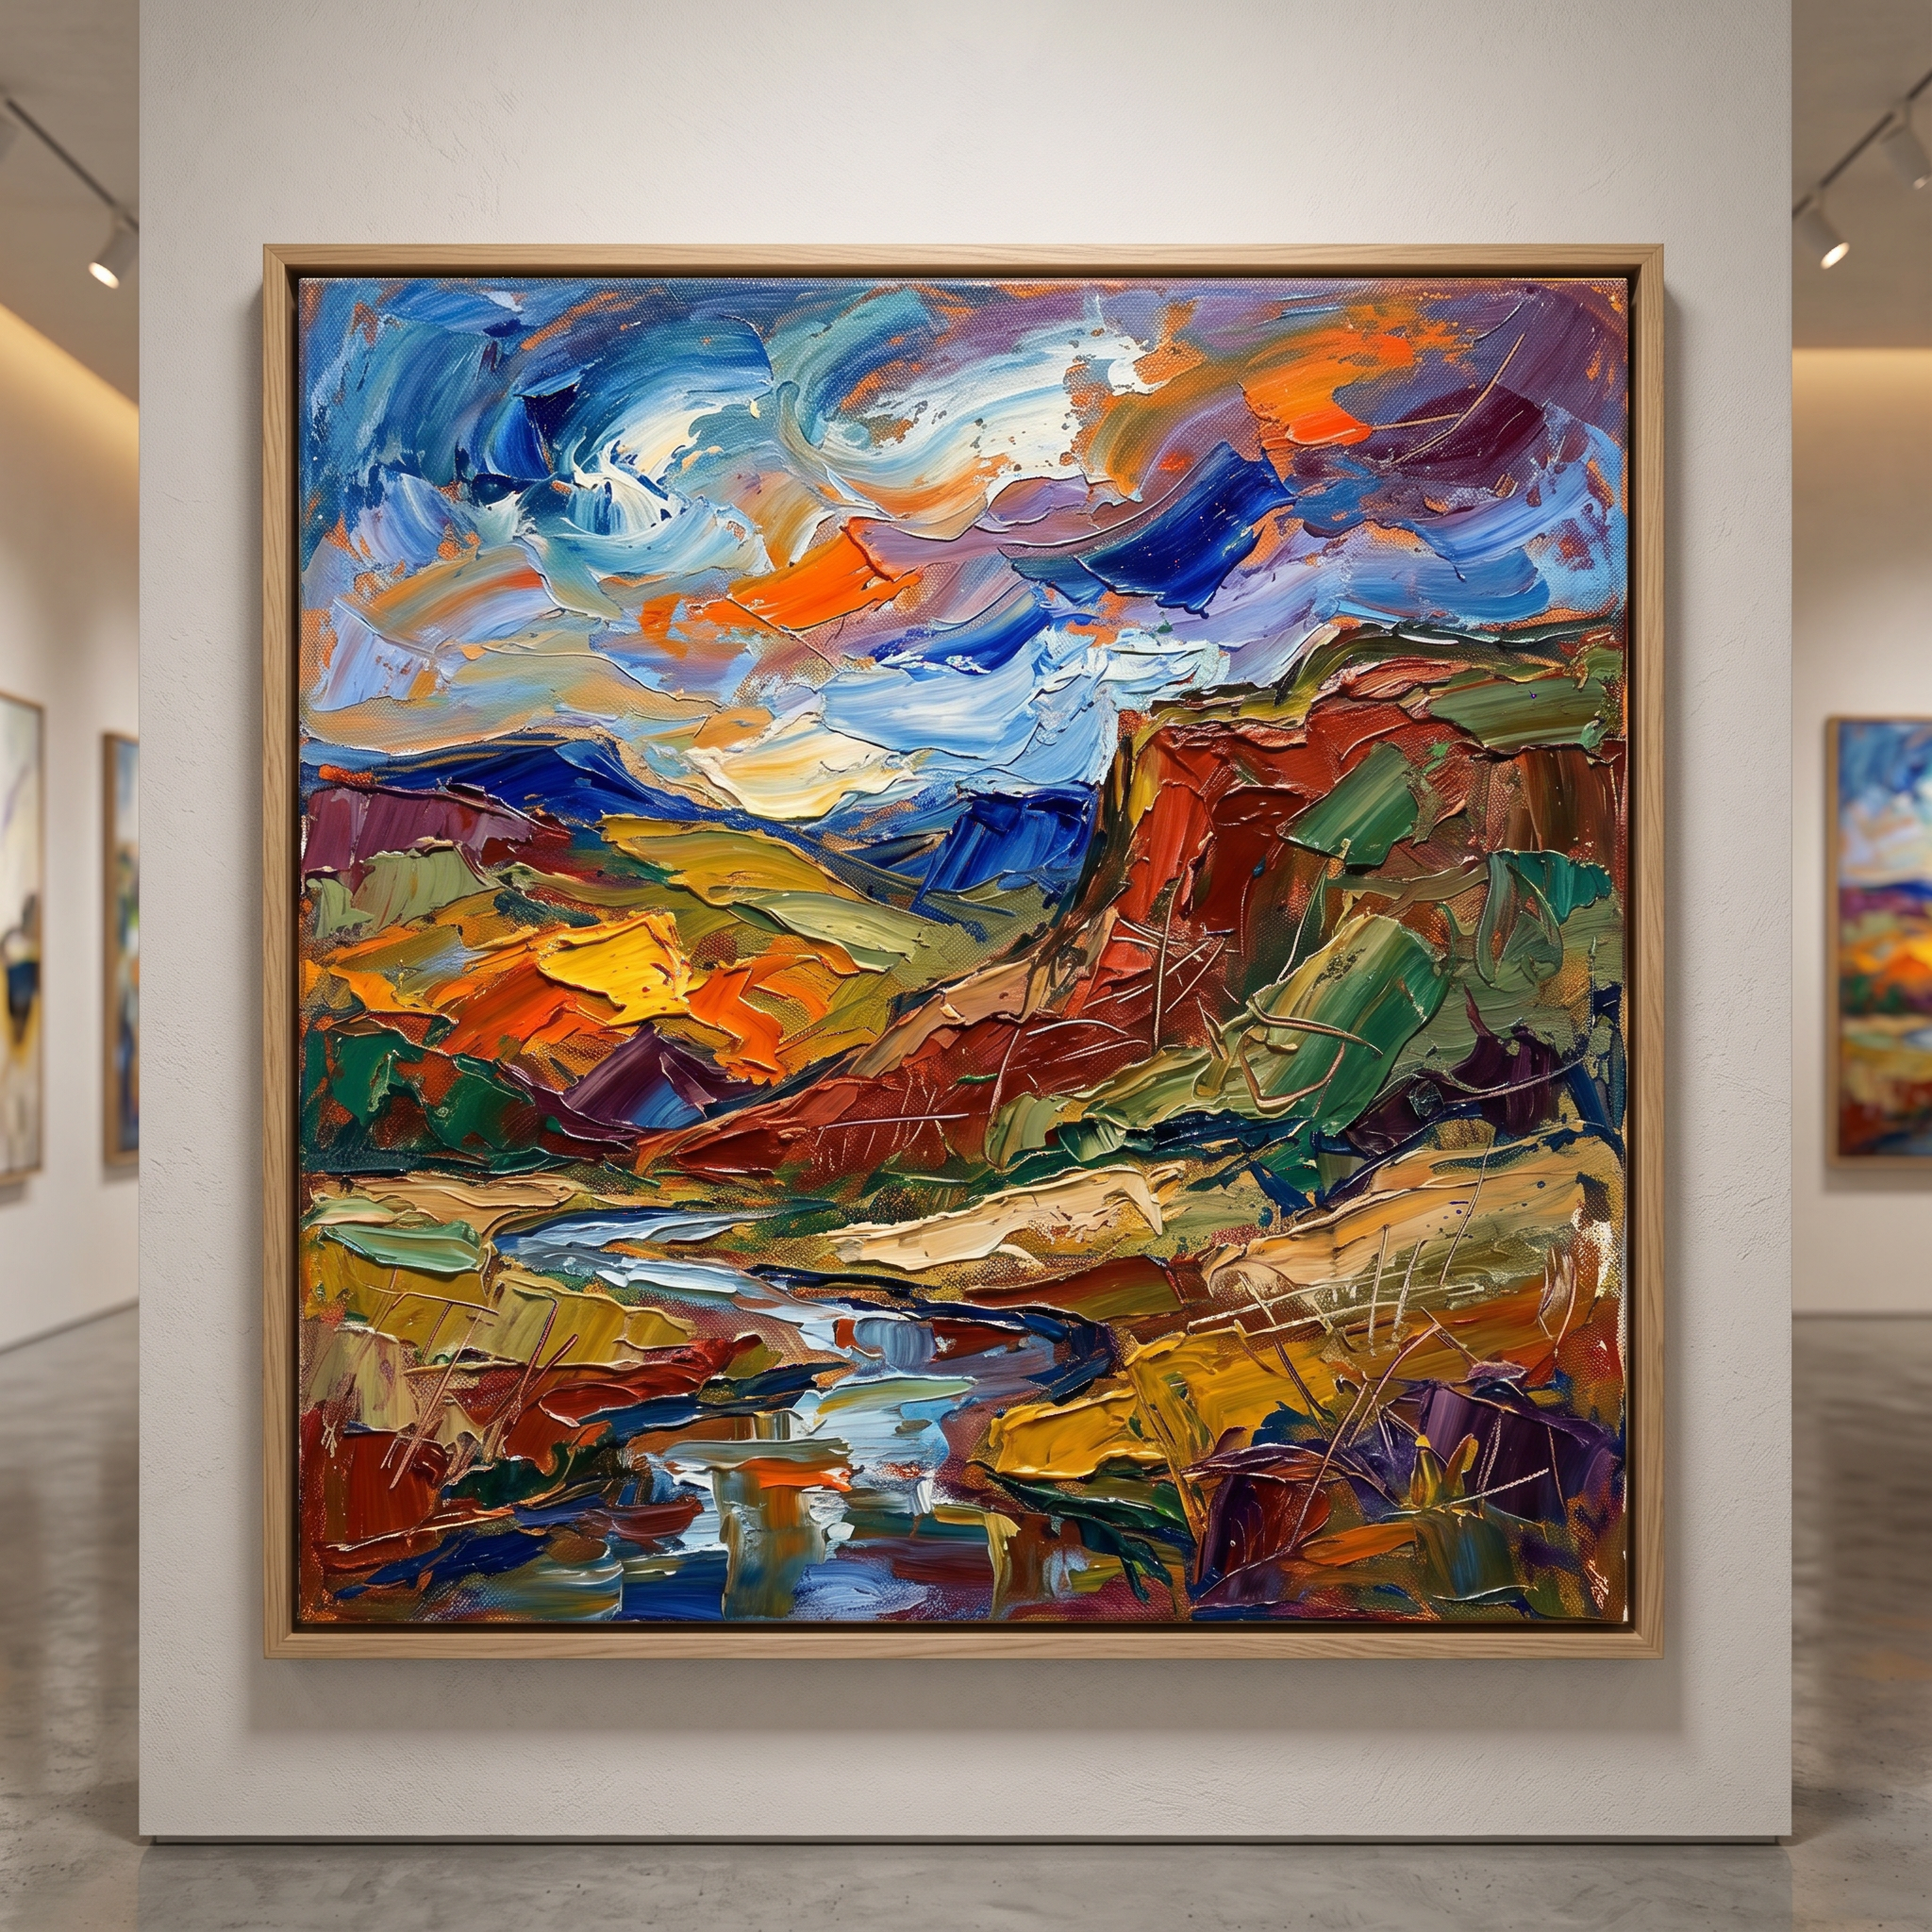
Many professional artists use Phoenix Oil Sticks to create striking works. Look for rich impasto landscapes, expressive abstract pieces with strong sgraffito details, and mixed media portraits that combine smooth blending with bold knife work.
Our artists often share how the high pigment load and stable consistency allow them to achieve both speed and longevity in their paintings.
6: Oil Sticks vs Other Mediums – Quick Comparison
Choosing the right medium can greatly impact your creative process. Oil Sticks offer a unique balance that many artists love. Here’s a clear comparison to help you decide.
Quick Comparison Table
| Aspect | Oil Sticks / Oil Bars | Traditional Oil Paint | Oil Pastels | Acrylics |
| Application | Direct from stick, very easy | Requires brushes & palette | Direct, soft | Fast and easy |
| Drying Time | Slow (weeks to cure) | Slow | Never fully dries | Very fast |
| Portability | Excellent | Poor | Good | Good |
| Color Intensity | Very high | High | Medium | High |
| Texture & Impasto | Rich and buttery | Excellent | Soft and waxy | Limited (unless heavy body) |
| Blending | Excellent with mediums | Excellent | Easy | Difficult once dry |
| Archival Quality | Excellent | Excellent | Fair | Very good |
| Clean-up | Moderate (solvents needed) | Moderate | Easy | Easy with water |
When to Choose Oil Sticks
Pick Oil Sticks when you want:
-
Fast, spontaneous mark-making without constant brush cleaning
-
Rich oil color with the convenience of drawing tools
-
Strong textural effects and impasto that catches light beautifully
-
Easy plein air and travel painting with minimal supplies
-
A versatile mixed media tool that works well with traditional oils
They are especially ideal for artists who enjoy both drawing and painting, or those who want the depth of oil without the traditional setup time.

7: Care, Storage and Maintenance
Proper care keeps your Oil Sticks in excellent condition and protects your finished artworks for years. Good habits in storage, cleaning, and varnishing make a big difference in longevity.
How to Store Oil Sticks Correctly
-
Keep sticks in their original wrappers or a cool, dry place away from direct sunlight and heat.
-
Store them horizontally in a dedicated box or drawer to prevent bending or breaking.
-
Avoid extreme temperature changes, which can cause the wax to crack or separate.
-
For long-term storage, seal them in airtight containers with silica gel packets if humidity is high.
Phoenix Oil Sticks are formulated for better stability, but following these steps will extend their shelf life significantly.
Cleaning Tools and Surfaces
Clean your tools while the paint is still fresh for easiest results:
-
Wipe palette knives and brushes with rags or baby wipes first.
-
Use odorless mineral spirits or a natural solvent for final cleaning.
-
For the canvas, gently remove excess with a palette knife before it dries.
-
Wash hands with soap and oil-based cleanser (such as special artist hand soap).
Tip: Dedicate separate rags for Oil Sticks to avoid cross-contamination with other colors.
Protecting Finished Artwork
Once your painting is fully dry (usually 6–12 months for thick layers):
-
Apply a thin layer of damar or synthetic varnish for protection and unified sheen.
-
Use matte, satin, or gloss varnish according to your desired finish.
-
Spray fixative is not recommended for Oil Sticks — traditional varnishing works best.
-
Always test varnish on a small edge first.
8: Frequently Asked Questions (FAQ)
Here are the most common questions artists ask about Oil Sticks. We’ve answered them clearly to help you paint with confidence.
Do Oil Sticks Need Drying Time?
Yes. Oil Sticks dry through oxidation, just like traditional oil paints.
Touch-dry time is usually 2–7 days depending on thickness and environment.
Thick layers may take 6–12 months to fully cure. Always allow sufficient drying time between layers.
Can You Mix Oil Sticks with Regular Oil Paint?
Absolutely. Oil Sticks mix excellently with traditional tube oil colors.
You can use them together in the same painting, either by applying sticks directly over tube paint or mixing them on the palette. They follow the same Fat over Lean principle.
Are Oil Sticks Suitable for Beginners?
Yes, they are very beginner-friendly.
Oil Sticks require less setup than traditional oils — no constant brush cleaning or palette preparation. Their direct drawing feel makes them intuitive and fun for newcomers while still offering professional results.
How to Avoid Wax Affecting Varnishing?
The wax content in Oil Sticks is minimal in professional formulas. To ensure good varnish adhesion:
-
Allow the painting to cure fully (at least 6 months for thick works).
-
Apply a thin isolating coat of retouch varnish first if needed.
-
Use high-quality damar or synthetic picture varnish. Phoenix Oil Sticks are formulated to minimize wax-related issues.
What Makes Phoenix Oil Sticks Different from Other Brands?
Phoenix Oil Sticks use higher pigment concentration and premium wax-oil binders compared to many commercial brands.
They offer richer color, better stability, less cracking, and longer shelf life. Artists especially appreciate their smooth application and archival quality for long-term professional use.
Conclusion
Mastering the selection and use of Oil Sticks can greatly enhance your oil painting experience. You’ll enjoy more creative freedom, faster workflow, and richer artistic expression compared to using traditional mediums alone.
With the right Oil Sticks and proper techniques, you can create everything from quick expressive sketches to complex, textured masterpieces. The combination of intense pigment, direct application, and excellent blendability makes them a powerful addition to any artist’s toolkit.
Ready to Elevate Your Art?
-
Browse our full range of professional Oil Sticks and discover the perfect colors for your style.
-
Check out our recommended starter sets — ideal for beginners and intermediate artists.
-
Looking for something special? Contact us to create custom colors tailored to your needs.
Recommended Further Reading:
-
How Oil Painting Mediums Work Guide
-
Essential Oil Painting Supplies Guide
Start exploring the exciting possibilities of Oil Sticks today. Your next favorite painting might be just one stick away.